Brief description
In this part we should talk about:
- Kafka topics and difference of deploying between zookeeper and kraft.
- Create Minio cluster and k8s jobs for adding event notification
- Knative installation and the invocation with Kafka topics.
- Hosting of generate-exam frontend in k8s services with ingress, subdomain and reference the WebSocket service.
Current Stack
I have a K8s cluster composed of three nodes (1 master, 2 control plane) with Talos as the running OS, MetalLB deployed as a load balancer combined with Nginx (nginx.io) as an ingress controller.
Ingress hosts that we will see are mapped to my Cloudflare domain(enkinineveh.space) secured with TLS certs generated using cert-manager and letsencrypt. One side note is that am using reflector to share TLS secret into other namespaces.
Helm is my favorite tool for deploying resources, Helmfile in case of deploying multiple charts, and k9s for navigating resources.
Gitea is my baby GitHub and CNPG is the default database operator.
here is the repo of current project:
Introduction
The processing phase is divided into 2 parts: the generation and the passing of the exam.
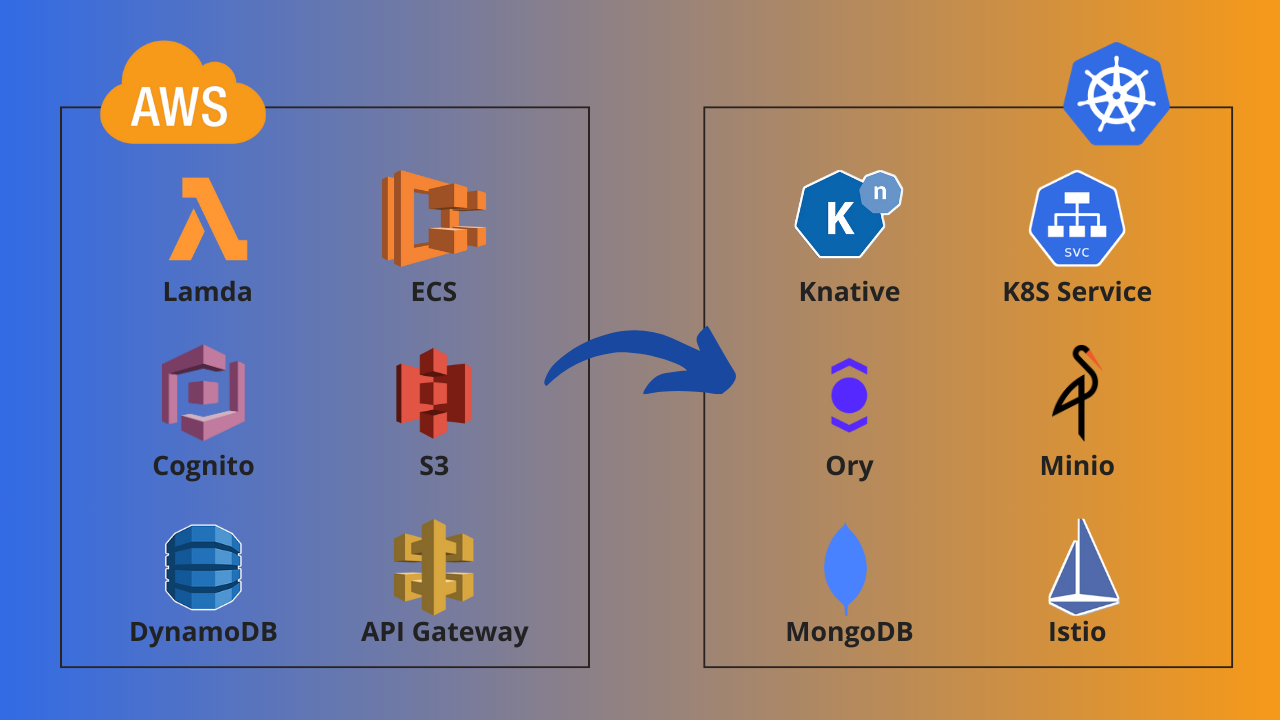
The generation part is composed of 5 key elements: frontend UI, Minio, Kafka topics, Knative, Bedrock.
When you create an architecture, you must tackle the dependency-free component first, here as an example, for Minio to send notifications it needs a destination in our case it means a topic, and for Knative to get triggered it also needs a source, a topic also, so that leads to Kafka being the first element to create followed by Minio and Knative.
For installing packages in Kubernetes, Helm is my love language, but to deploy multiple charts together helmfile is the get-go, because it assembles charts and deploys them as a single stack.
Kafka
Now to deploy a Kafka cluster, we need an operator to handle all the heavy and tedious tasks of managing the cluster, which will lead us into Strimzi.
Strimzi offers a way to run an Apache Kafka cluster on Kubernetes in various deployment configurations, before deploying we must understand the different architecture Kafka comes with.
Kafka have two deployment methods: kraft and zookeeper, the zookeeper method was creating a separate controller for managing metadata that can leads into burden or latency during heavy load environment, in the other side kraft managed to introduce a new method of handling the metadata within Kafka itself.
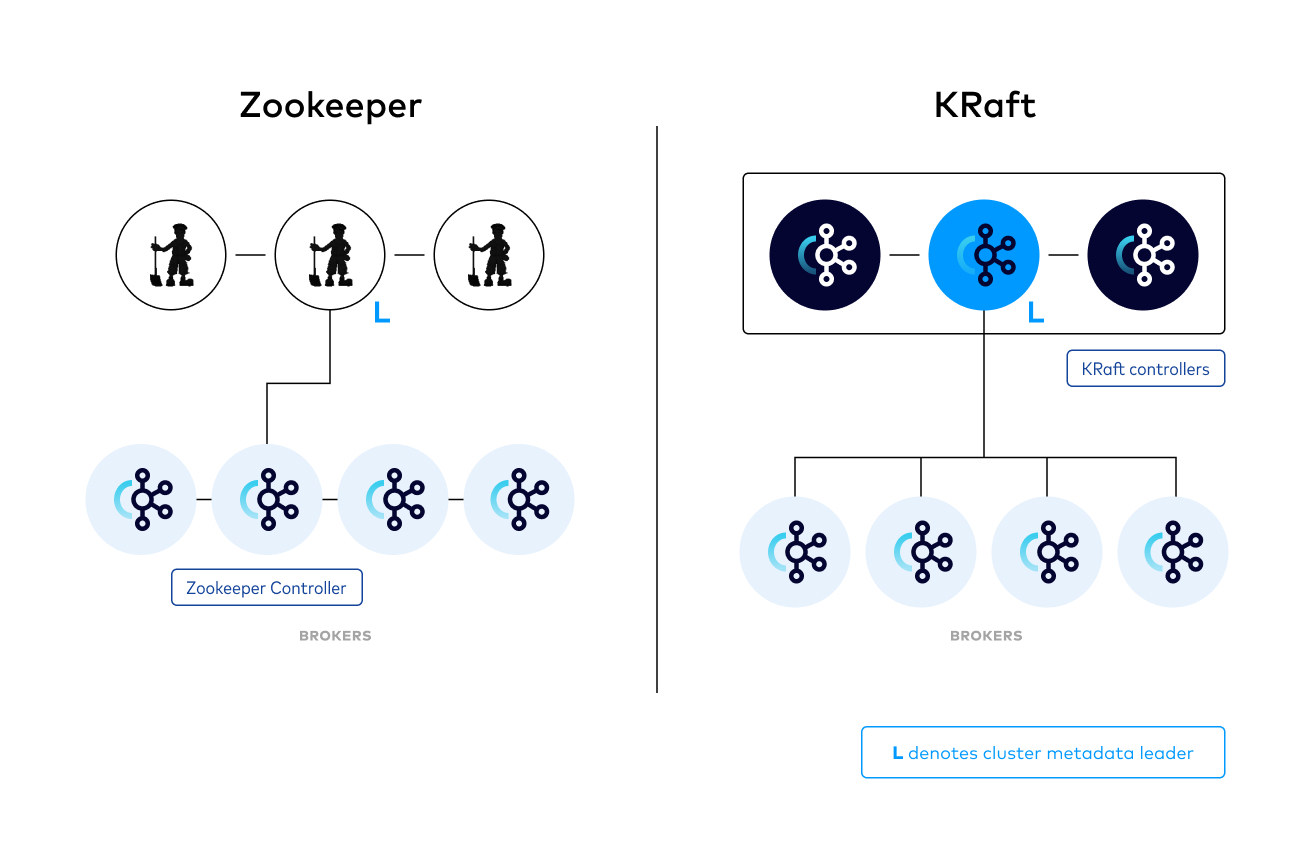
From my experience, as we do not have that much of workload, deploying Kafka with zookeeper is sufficient, but for more up to date approach we will deploy the cluster with kraft mode
Internally Kafka is composed of multiple components, which are: producer, consumer, broker, topics and partitions.
To understand the components better, let’s take the generation phase as an example.
Producers are the event emitter, like Minio bucket notification.
Consumers are the event receiver, Knative function is the case, as it consumes the events the moment they reach the topic.
Broker is the connection point between the producer and the consumer, topics on the other side are subcomponents of the broker. As best practice each topic should handle a single goal.
Now Let’s start with installing the operator first, I found the documentation highly informative to starts with.
Installing the operator with kraft mode, will require other feature gates like: KafkaNodePool, UseKraft and UnidirectionalTopicOperator, we add those values into featureGate property in strimzi-values.yaml file
| |
we create a a repository and a release inside the helmfile.yaml
| |
and then run
| |
Now our operator is ready, we continue into deploying KafkaNodePool and Kraft Cluster
KafkaNodePool is an essential part for the kraft mode cluster, because it defines a set of node pools to install kafka cluster on and has multiple configurations like number of replicas, roles of nodes, storage configuration, resource requirements, etc…
Here is the yaml file:
| |
We defined 3 nodes, a storage of 10Gi for the whole pool and each node have 2 roles broker and controller.
Good, let’s initialise the kraft cluster on those nodes, here is the yaml:
| |
topicOperator and userOperator are for managing topics and user, Zookeeper definition is needed but it will be ignored later, and cluster is exposing two ports for TLS/Non-TLS Connection.
As we talked before the Minio Cluster will require a destination topic for sending bucket notifications(events), let’s create a one:
| |
I found the 1 replicas with 3 partition is a good combination for latency and throughput(parallelism)
Minio & Bucket Notification
The Minio Cluster Deployment process is the same as Kafka, We install operator first:
| |
Then we create a Minio Tenant (same as cluster), start by downloading the default values.yaml and changing few properties to match our needs:
- First, add a bucket named exams to get created when the tenant initialised:
| |
- Change pools.server=1 because a standalone server is enough
- As the Minio will be accessed internally in Kubernetes, we disable ingress and if we need to access the console we port-forward the service.
- Secrets: we use simple access key and secret key in my case: minio and minio123
then add the chart and values to helmfile:
| |
We check the pods, and here is the tenant deployed.

To test things out Let’s forward the console port and access it.
| |
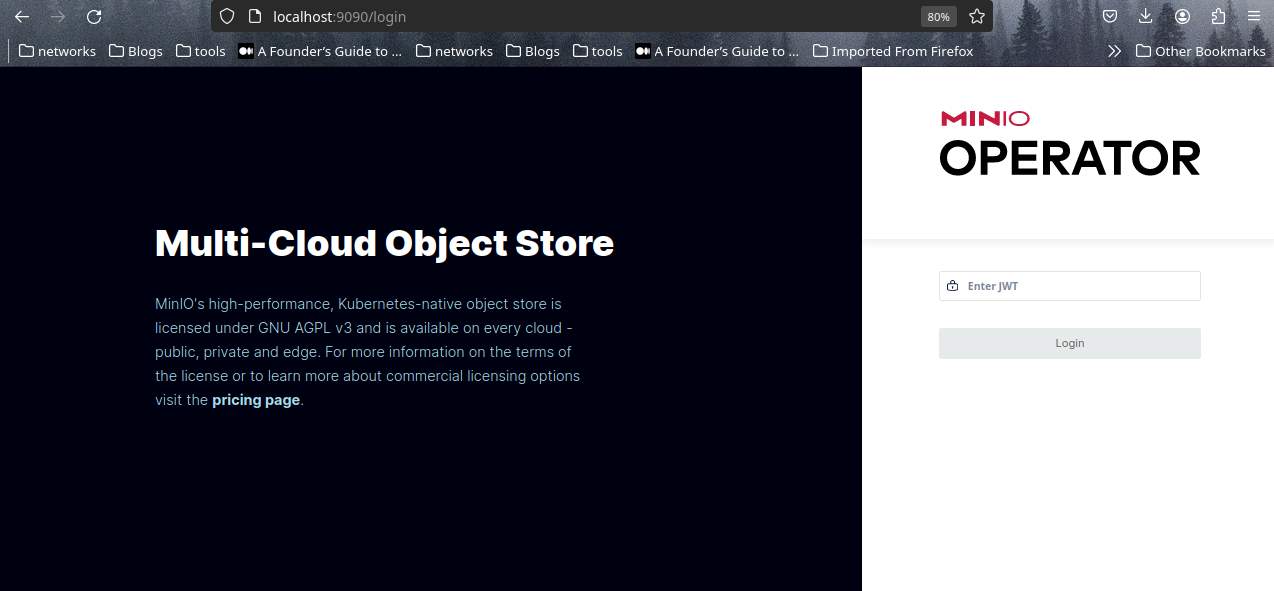
It asked for the JWT, which will be retrieved with:
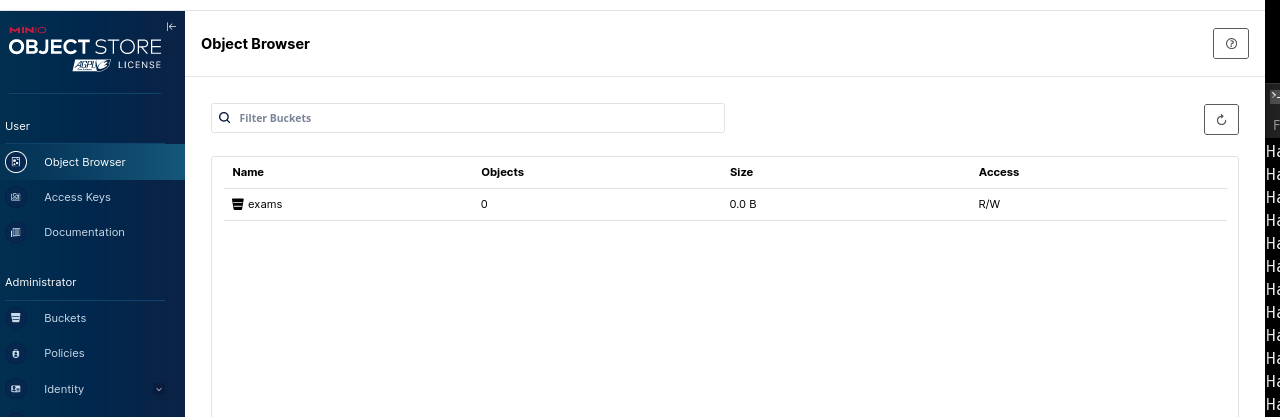
| |
Cool, the tenant is working, and the bucket was created successfully
But we’re missing the notification side when uploading an object. To add Kafka endpoint as the notification destination, we will use the configuration command: mc
Here is the configuration script:
| |
The first part is adding the Minio host, Kafka bootstrap server and destination topic.
The second part is adding the event hook for the “put” command targeted for exams folders inside exams buckets.
We wrap the above code into a Kubernetes job and run it.
| |
Let’s test things out, we start a Kafka consumer for the exam-generator-topic topic, then we try uploading a sample file, we wait and an ObjectCreated event will appear.
you may notice it’s S3 compatible, that will help us for not changing the code of Knative function to adapt Minio events.
Knative & KafkaSource
The Knative architecture holds multiple components, so we will give a general overview of the architecture without going into much details. Knative is divided into two major components: serving and eventing.
The serving part handles managing serverless workload inside the cluster, here is the request flow of HTTP requests to an application which is running on Knative Serving.
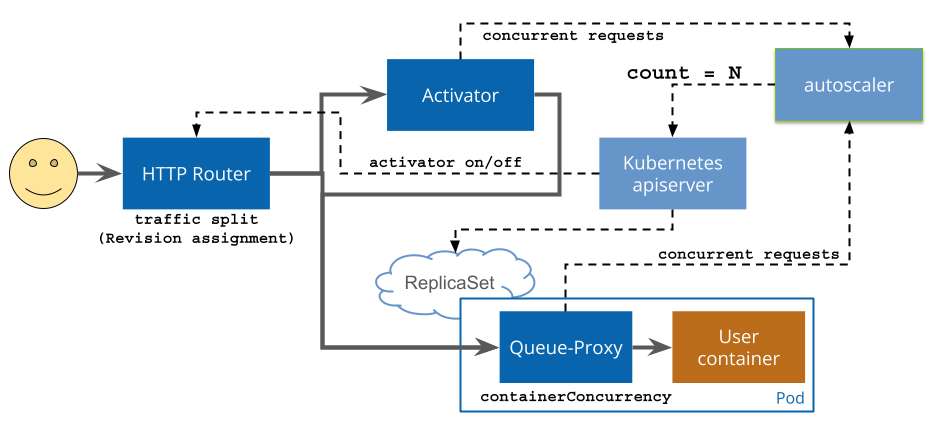
The eventing part is a collection of APIs that enable you to use an event-driven architecture with your applications. This part handles event listening on brokers and delivering it to SINKS (knative services)

As we finished explaining the core architecture, let’s move into installing Knative. The problem is that Knative doesn’t have a helm chart, so we will create one.
First to install the Serving part, two yaml files are needed: serving-crds, serving-core
Let’s create a helm chart with:
| |
Delete all the files in templates folders except _helpers.tpl then download the two yaml files and place them inside templates folder.
| |
| |
Need another file to integrate knative with istio
| |
Good, let’s add the chart to helmfile and install it.
| |
After installation, the above components will be created, and an ingress-gateway for serving Knative services(functions).

Each Knative service must have a DNS to map to, am using Cloudflare to manage my domain. We retrieve the Istio ingress gateway IP address
| |
and create an A record referencing “kn-function” subdomain

Then we tell knative to serve services with the new domain
| |
Good, the serving component is ready, let’s move into the event part.
The event part is the same as the serving with few added steps, We first install the 2 yaml files: CRDs and Core, then we move into Knative source for Apache Kafka.
The KafkaSource reads messages stored in an existing Apache Kafka topics, and sends those messages as CloudEvents through HTTP to its configured sink(function)
KafkaSource composed of controller and data plane.
| |
| |
For testing purpose now, we can deploy the below code to create an event display service for displaying received events and KafkaSource to link the topic with Knative service.
service.yaml
| |
kafka-source.yaml
| |
The source needs the Kafka server connection URL, topic and the service name to send events to.
Knative Service Building
But instead of an event display service, we need our exam generated service, luckily the AWS project has the code of the service.
We download the file, and we can see it’s using SNS and bedrock; two packages aren’t essential. Because SNS will be replaced by Kafka, and bedrock will be removed as we will use a static question for simplicity
| |
and because we removed bedrock, we will pass a bunch of static questions
| |
One requirement for the code to work is wrapping it inside an API, FastAPI will get the job done.
Define a single endpoint that receives the event, converts it into JSON and passes it to the main function.
| |
The service will need a container image to run, so we create a Dockerfile and requirements.txt for referencing package dependencies like FastAPI,Kafka..etc.
Dockerfile
| |
requiremtents.txt
| |
Now, we build the image, push into the registry and reference it inside the Knative service yaml.
| |
We add the environment variables and secrets inside the value.yaml and create a helper to pass values as key,value into service.yaml and other values will be referenced directly.
The service will be accessed internally by the front, so there is no need for exposing it publicly, we can disable access outside of cluster by adding the following label:
| |
and the last missing resource KafkaSource will invoke the knative service when a new event reach the topic, let’s create one
| |
Cool, now redeploy the service
| |
Go to Console, upload a file, we notice a pod has been created from the knative service, wait for a few seconds and a new folder “question_bank” will be created with a JSON file holding the questions.
Generation Frontend
Here comes the UI part, we copy the 3 files code from the repo and paste them over.
We will leave the code the same, so let’s build the image and push it to the registry
| |
We initialise helm chart and update the values to adjust service needs:
Reference the image inside the values.yaml
| |
the service should listen on port 8501
| |
to access UI outside of kubernetes, we enable ingress, pass the host we want. One thing I noticed is that streamlit uses websocket for communication, so by adding this label, we tell nginx the websocket service it should use in case of websocket requests.
| |
And finally create the environment and secret variable, we don’t forget the helper
values.yaml
| |
_helper.tpl
| |
Pass it in helmfile, apply the chart
| |
| |
we visit the host, and here is the Exam Generation UI
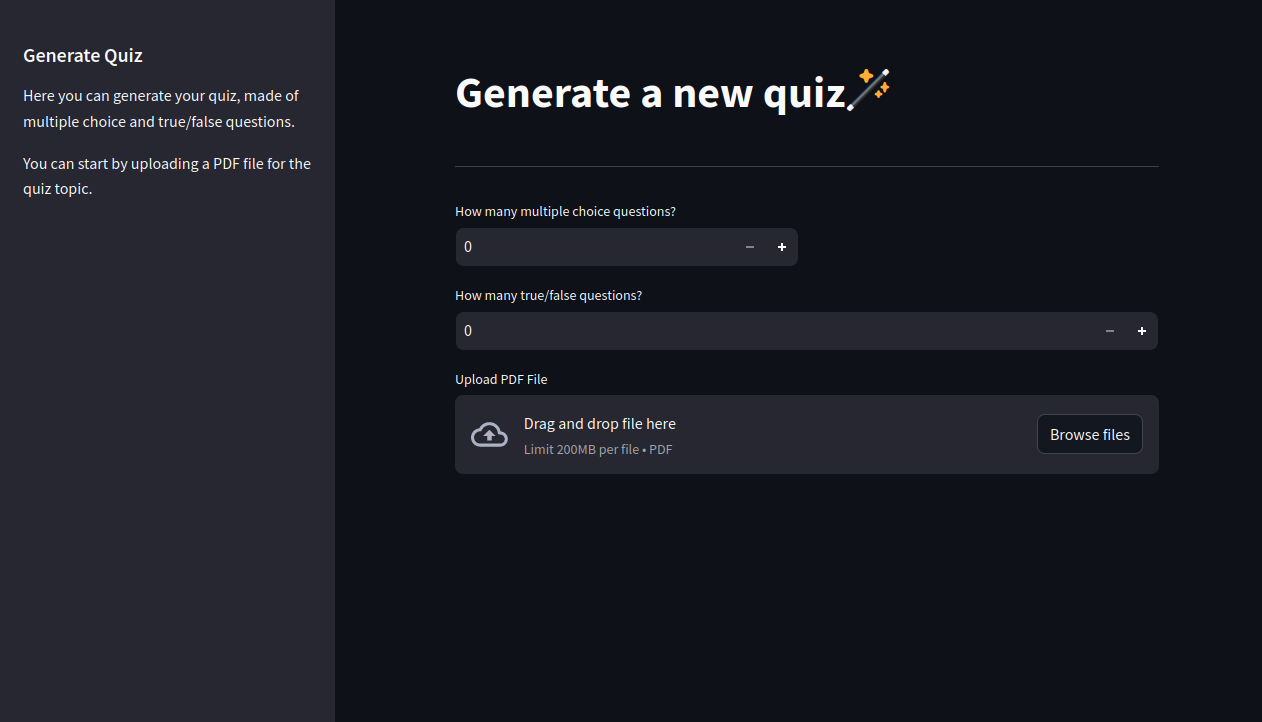
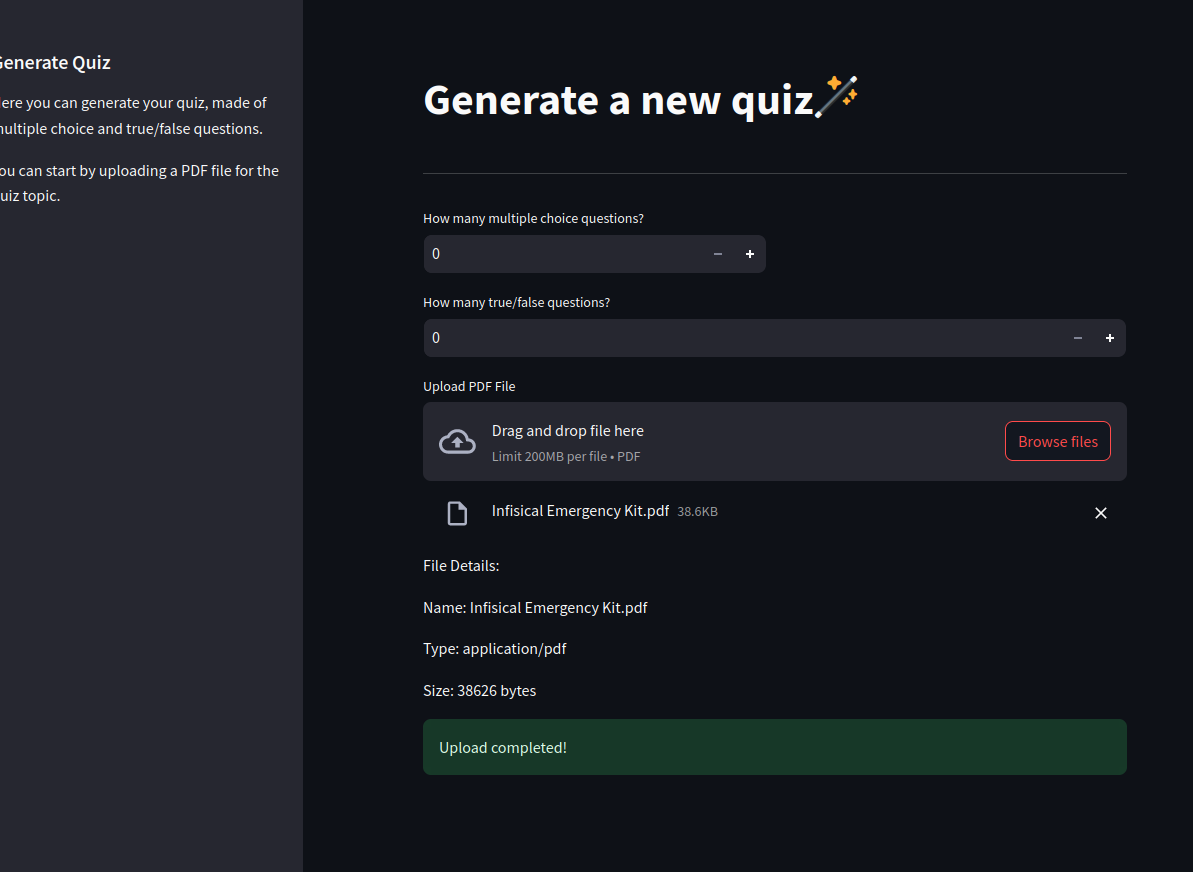
We Upload another test file and get the green mark for successful upload.
Summary
As we finished the generation part of the architecture, the next step will focus on adding “taking-exam” part.